> ## Documentation Index
> Fetch the complete documentation index at: https://docs.uplift.ai/llms.txt
> Use this file to discover all available pages before exploring further.
# Recommended Setup Equipment for Uplift Capture
> The right setup equipment makes a huge difference for your Uplift Capture setup.
For accurate and consistent motion capture, we strongly recommend using high-quality mounting and support equipment. Stable camera placement directly impacts tracking accuracy and overall session efficiency.
*For recommended iOS devices, [please see this article](./supported-capture-devices)*
# Sturdy tripods
### Why it matters:
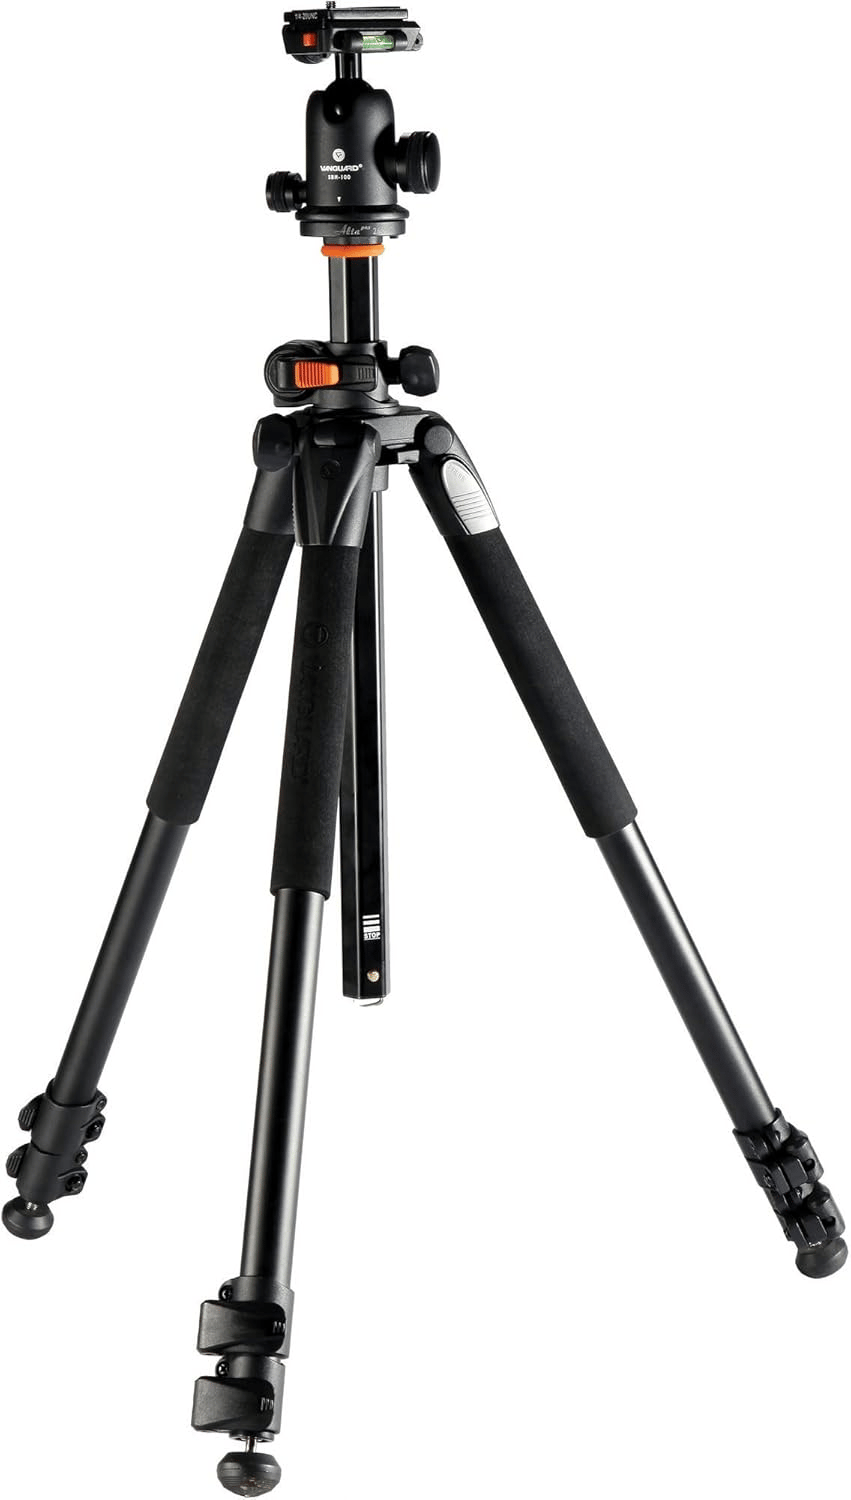
Stable cameras are critical for accurate joint tracking. Lightweight or flexible tripods can introduce subtle movement that impacts capture quality. Because cameras are often set up in high-activity areas (batting cages, bullpens, team practices), sturdy, heavy-duty tripods also decrease the risk of being bumped or jostled during a session.
**We recommend:**
* Full-height, heavy-duty tripods (not tabletop models)
* Tripods rated well above the weight of your device
* Wide, stable leg bases for turf or dirt surfaces
**Recommended tripods:** ([link](https://www.amazon.com/dp/B003WKOENO))
 ### Precise Tilt Adjustment:
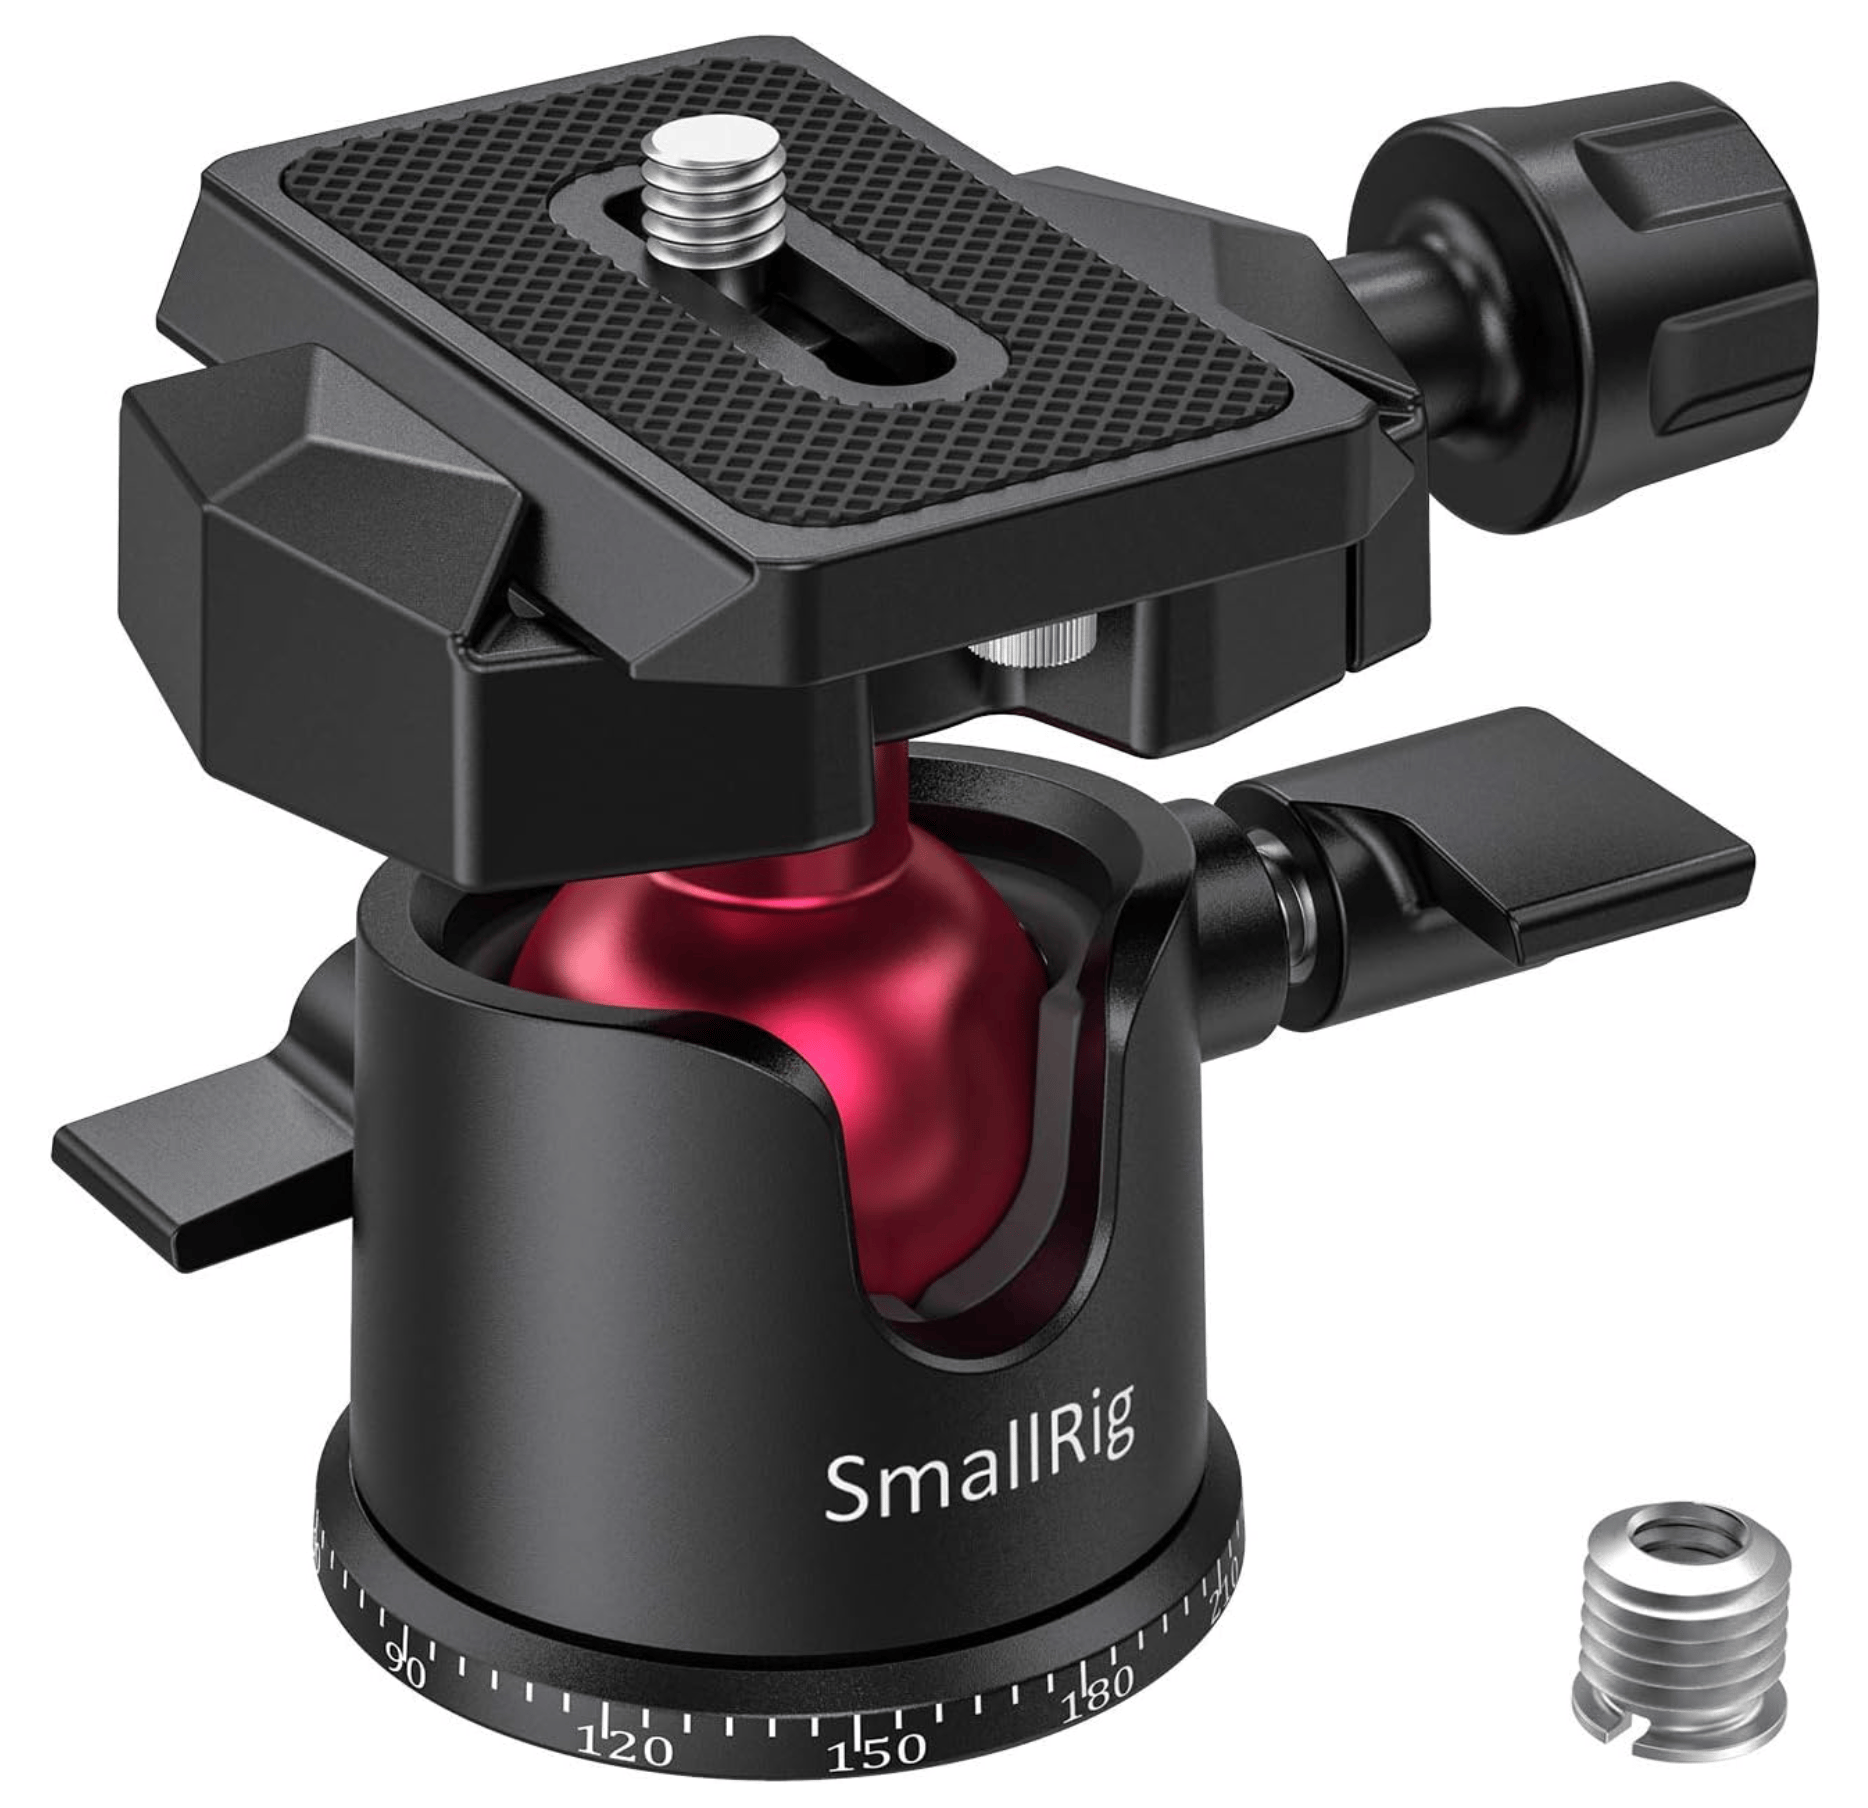
For easy and precise camera alignment during the final step of setup, we recommend tripods with a **ball head (ball-and-socket head)**. This allows smooth micro-adjustments to tilt and framing without changing the leg height.
### Precise Tilt Adjustment:
For easy and precise camera alignment during the final step of setup, we recommend tripods with a **ball head (ball-and-socket head)**. This allows smooth micro-adjustments to tilt and framing without changing the leg height.
If your current tripods do not have a ball head, you can add one using **this tilt attachment**:
**Tilt attachment**: ([link](https://www.amazon.com/SmallRig-Tripod-Panoramic-Release-Monopod/dp/B0833XVLK8/))
 # Phone & iPad Mounts (Required)
### Why it matters:
Secure mounts prevent devices from shifting mid-session and ensure consistent framing in landscape orientation.
# Phone & iPad Mounts (Required)
### Why it matters:
Secure mounts prevent devices from shifting mid-session and ensure consistent framing in landscape orientation.
**We recommend:**
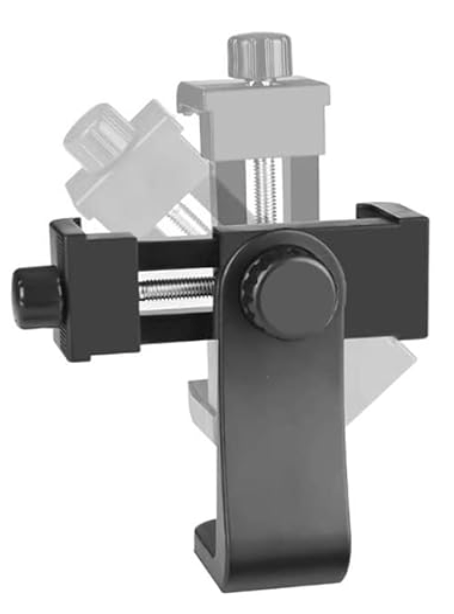
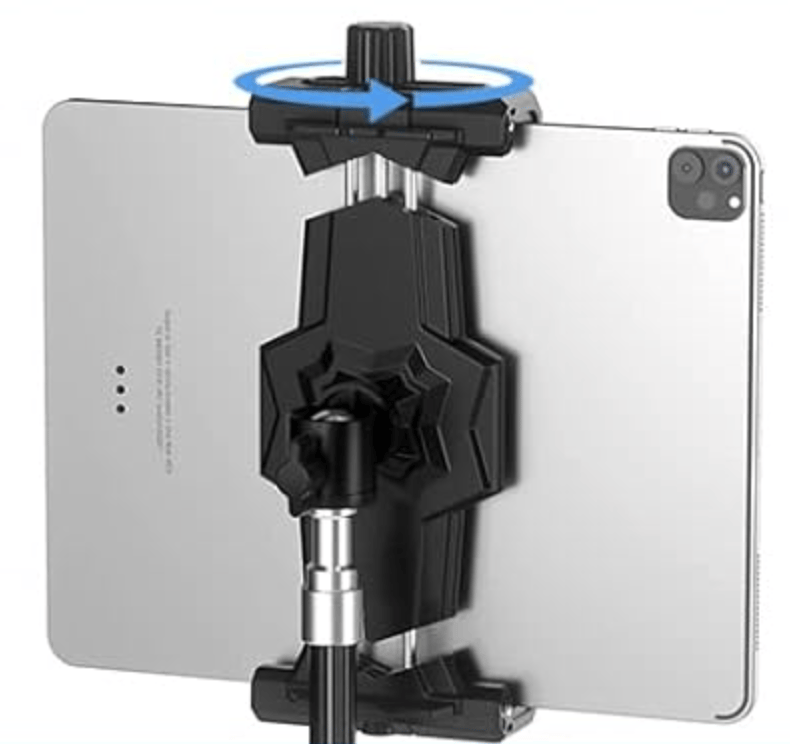
* Mounts designed specifically for the device you’re using (iPhone mounts for iPhone setups, iPad mounts for iPad setups)
* Rigid, screw-tight or locking clamp mechanisms
* Standard 1/4"-20 threading for tripod compatibility
**Avoid:**
* Rubber-band-style or elastic tension mounts
* Flexible mounts that sag over time
**iPhone mount:** ([link](https://www.amazon.com/Adapter-Universal-Adjustable-Rotatable-Bracket/dp/B0BFRJPT8T/))
 **iPad mount:** ([link](https://www.amazon.com/Tripod-Adapter-Rotatable-Surface-5-3-10-6/dp/B09QS9B8B9/))
 # Bluetooth Remote / Clicker (Recommended)
### Why it matters:
A Bluetooth shutter remote allows you to start and stop recording without touching the device. This prevents camera shake and allows you to stand away from the cameras, focus on observing movement, and coach your athlete without interacting with the devices between reps.
**Recommended Remote:** ([link](https://www.amazon.com/dp/B07MR1PHPZ?th=1))
# Bluetooth Remote / Clicker (Recommended)
### Why it matters:
A Bluetooth shutter remote allows you to start and stop recording without touching the device. This prevents camera shake and allows you to stand away from the cameras, focus on observing movement, and coach your athlete without interacting with the devices between reps.
**Recommended Remote:** ([link](https://www.amazon.com/dp/B07MR1PHPZ?th=1))
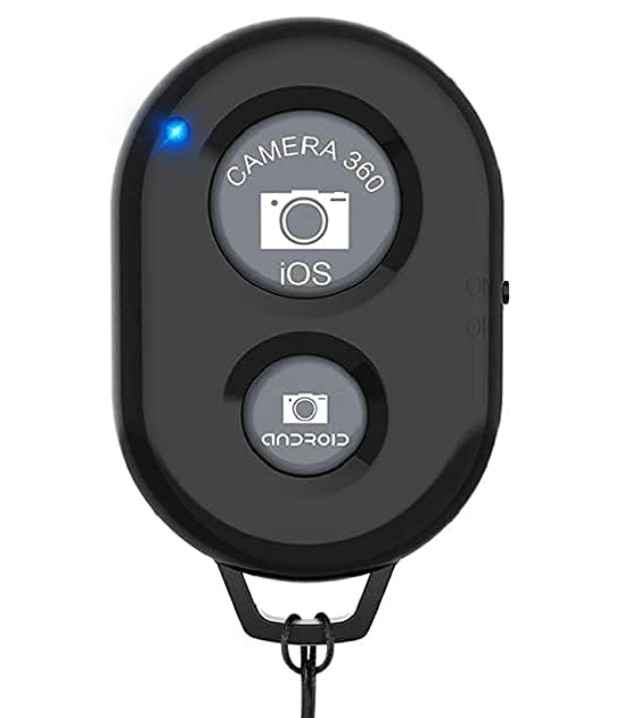 A Bluetooth shutter remote allows you to start and stop recording without touching the device. This prevents camera shake and allows you to stand away from the cameras, focus on observing movement, and coach your athlete without interacting with the devices between reps.
# Distance Markers (Recommended)
### Why it matters:
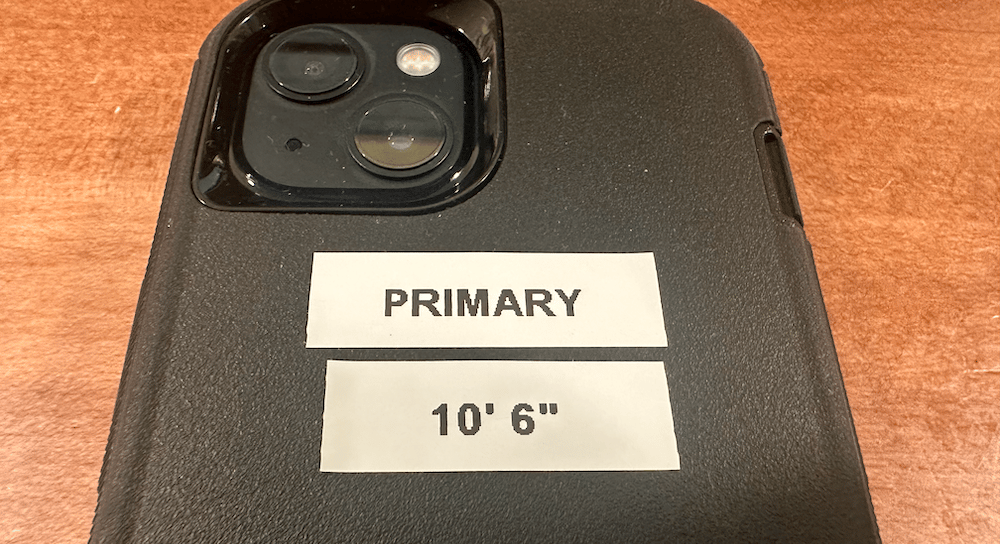
Marking tripod positions ensures consistent camera distances and speeds up transitions between right- and left-handed setups.
A Bluetooth shutter remote allows you to start and stop recording without touching the device. This prevents camera shake and allows you to stand away from the cameras, focus on observing movement, and coach your athlete without interacting with the devices between reps.
# Distance Markers (Recommended)
### Why it matters:
Marking tripod positions ensures consistent camera distances and speeds up transitions between right- and left-handed setups.
**We recommend:**
* Gaffer tape or athletic tape
* Pre-measured and clearly marked camera positions
**Many coaches also** mark their standard distance directly on the tripod or device.
 ***
These small preparation steps significantly reduce setup time and improve consistency across sessions.
***
These small preparation steps significantly reduce setup time and improve consistency across sessions.